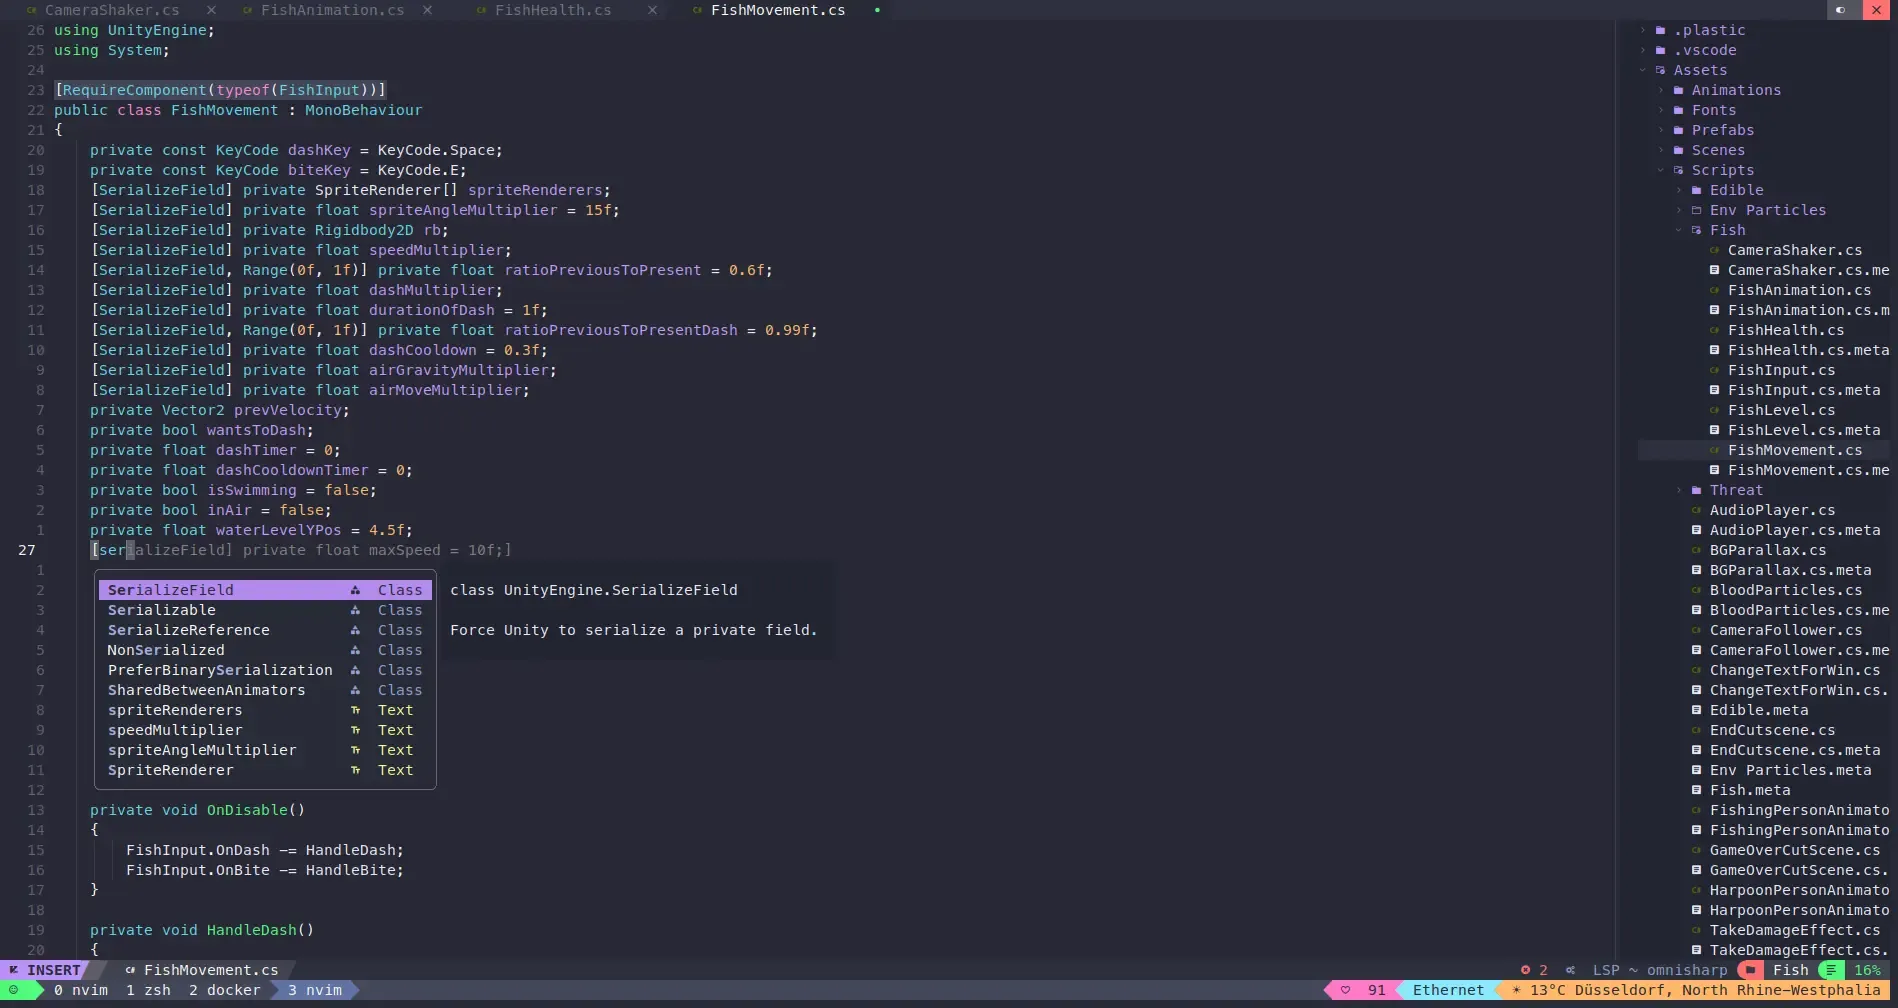
Elevate your writing experience on Linux by marrying the simplicity of NvChad with the professional quality of LaTeX documents! This beginner-friendly guide will escort you through a straightforward setup, enabling a stress-free writing environment that combines NvChad’s user-friendly navigation with LaTeX’s capability to create high-quality documents. In a few simple steps, we’ll explore how to install necessary tools, set up your writing environment, and kickstart your effortless writing journey in an accessible, coder-friendly landscape.
Prerequisites
Before we begin, make sure you have the following prerequisites installed on your system:
- Neovim
- NvChad
1: Install LaTeX and a PDF viewer
Before we can work with LaTeX we have to install on our system. We should also install some kind of PDF viewer to view the PDF generated based on the LaTeX we have written.
For Ubuntu:
sudo apt-get update
sudo apt-get install texlive-xetex zathura
For Arch:
sudo pacman -S texlive zathura
2: Setup Latex on NvChad
In your NvChad configuration, in ~/.config/nvim/lua/custom/plugins.lua we’re going to implement Latex capability into NvChad by empowering the vimtex plugin.
local plugins = {
   -- ...
  {
    "lervag/vimtex",
    ft = { "tex" },
    init = function()
      vim.g.tex_flavor = "latex"
      vim.g.vimtex_quickfix_mode = 0
      vim.g.vimtex_mappings_enabled = 0
      vim.g.vimtex_indent_enabled = 0

      vim.g.vimtex_view_method = "zathura"
      vim.g.vimtex_context_pdf_viewer = "zathura"
    end,
  },
   -- ...
}
Key Bindings
You might also want to add some key bindings specific to LaTeX editing in your mappings.lua file for compiling, viewing, or stopping the compiler.
local mappings = {
  n = {
  	-- ... (other mappings)

    -- Compile and view the PDF
    ["<leader>cc"] = ":VimtexCompile<CR>",
    ["<leader>cv"] = ":VimtexView<CR>",
    ["<leader>cq"] = ":VimtexStop<CR>",
    -- ... (add additional key mappings as needed)
  },

  -- ... (additional mappings)
}
3: Crafting Your First LaTeX Document
Now that we’ve set up our powerful writing environment with NvChad and LaTeX, let’s breathe life into our first LaTeX document. In this delightful journey from syntax to a beautifully formatted document, we’re keeping it simple and straightforward, ensuring every step is easy to follow and replicate.
Step 1: Creating the File
Navigate to your desired directory and create a .tex file. This file is where we’ll pen down our LaTeX code. For this example, let’s name it my_first_document.tex.
You can create and open this file directly from your terminal:
nvim my_first_document.tex
Step 2: Writing Basic LaTeX Code
Upon launching my_first_document.tex in NvChad, insert the following basic LaTeX code:
\documentclass{article}

\begin{document}

\title{My First Document}
\author{Your Name}
\date{\today}
\maketitle

\section{Introduction}
Welcome to our first LaTeX document created using NvChad!

\section{Conclusion}
With a simple, clean setup, crafting documents with NvChad and LaTeX is a breeze.

\end{document}
A Little About The Code:
\documentclass{article}: This defines the layout of our document,articlebeing a common choice for shorter documents.\begin{document}to\end{document}: Everything between these tags is where the content of our document resides.\title,\author,\date, and\maketitle: These commands allow us to set and display the title, author, and date of the document.\section: This command enables us to create sections within the document.
Step 3: Compile the Document
Using the key bindings we set up earlier:
- Press
<leader>ccto compile the document. - Press
<leader>cvto view it in Zathura, our PDF viewer.
Voilà! You’ve just crafted a simple LaTeX document, employing the robust yet simple writing environment fused by NvChad and LaTeX. As you unravel more LaTeX commands and explore NvChad’s features, you’ll discover that this duo can effortlessly cater to a plethora of your writing needs, from articles and reports to books and theses.
Enjoy crafting, and may each document be a joyous journey!


