
Scoop is a lightweight command-line installer for Windows, making it easy to manage software and developer tools. Here’s how to quickly set it up on your system.
Step 1: Enable Script Execution
 Before installing Scoop, you need to enable script execution in PowerShell. Run the following command:
Set-ExecutionPolicy -ExecutionPolicy RemoteSigned -Scope CurrentUser
This allows PowerShell to execute the installation script.
Step 2: Install Scoop
 To install Scoop, use this command:
Invoke-RestMethod -Uri https://get.scoop.sh | Invoke-Expression
Once the installation completes, Scoop is ready to use!
Step 3: Install Git (Optional but Recommended)
Git is required to add and manage additional Scoop buckets (repositories). Install it with:
scoop install git
Step 4: Add Scoop Buckets
Buckets are collections of software packages. Add the extras bucket for more apps:
scoop bucket add extras
Test Scoop Installation with Winfetch
To test that Scoop is working correctly, install and run Winfetch, a tool that displays system information in the terminal:
- Install Winfetch using Scoop:
scoop install winfetch

- Run Winfetch to display your system details:
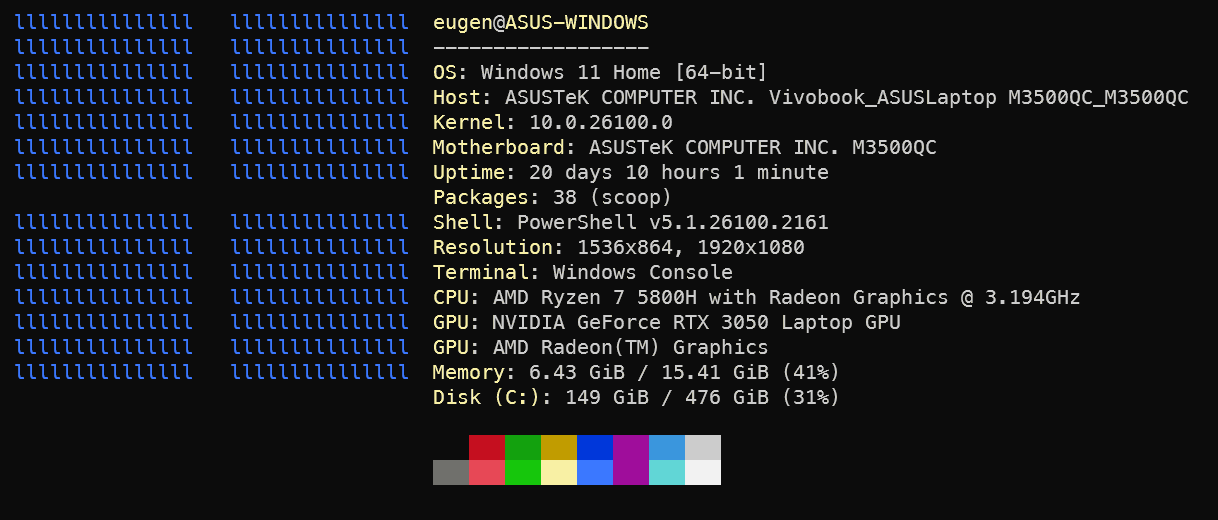
winfetch
If everything is set up correctly, you’ll see a colorful and detailed summary of your Windows system in the terminal.
Learn More: For a complete guide on customizing and using Winfetch, check out our tutorial:
Winfetch Tutorial
Searching for Packages
Scoop makes it easy to find and install software:
- GUI Search: Visit scoop.sh for a graphical interface to browse packages.
- Command-line Search: Use the following command to search directly in the terminal:
scoop search <package-name>
With Scoop, you now have a powerful tool to simplify software management on Windows. Explore more features, add your favorite tools, and enjoy a streamlined software installation process!